

Hosting your own Nextcloud instance lets you keep full control over your files, calendars, contacts, and other data. In return, self-hosting also means you are responsible for protecting that data.
When Nextcloud is deployed with Docker, the containers themselves are disposable: they can be recreated at any time from their images. The part that really matters in the deployment is the persistent data stored in the Docker volumes - in particular the application data, the configuration, the databases, and the user files.
Backing up these persistent volumes is therefore essential to be able to restore your Nextcloud instance after a server failure, an accidental deletion, a migration, or a configuration problem. Docker volumes are, in practice, where the state of a containerized application is kept.
In this tutorial, we will deploy a Nextcloud instance with Docker, then configure Portabase to back up and restore its Docker volumes.
By the end of this tutorial, the architecture will include:
- a Nextcloud deployment;
- a Portabase server providing the web interface and backup management;
- a Portabase agent connected to the Docker host running Nextcloud;
- a storage destination for the backups;
- scheduled backups of the Nextcloud Docker volumes.
What is Nextcloud?
Nextcloud is an open-source, self-hosted collaboration platform designed as an alternative to proprietary cloud services.
Originally, Nextcloud provides file storage and synchronization features, but its ecosystem goes far beyond simple file hosting. Depending on the installed apps, a Nextcloud instance can also offer calendars, contacts, collaborative document editing, communication tools, task management, and many other services.
One of the main advantages of Nextcloud is that it lets organizations and individuals keep control over where their data lives and how their infrastructure is operated.
Although Docker makes the application easy to deploy and maintain, the containers themselves must not be considered backups. The persistent state of the Nextcloud deployment is stored in the Docker volumes. Protecting those volumes is therefore an essential part of any backup strategy.
What is Portabase?
Portabase is an open-source, self-hosted backup and restore platform, designed to centrally manage the backups of multiple servers.
It supports nine database technologies:
- PostgreSQL
- MySQL
- MariaDB
- Microsoft SQL Server
- Firebird SQL
- SQLite
- MongoDB
- Redis
- Valkey
Portabase also supports backing up and restoring Docker volumes, which allows it to protect the persistent data used by containerized applications.
Its architecture relies on two main components:
The Portabase server provides the web interface used to configure projects, storage destinations, backup schedules, retention policies, and restore operations.
The Portabase agents are installed on the infrastructure where the databases or Docker volumes live. They run the backup and restore operations and communicate with the central Portabase server.
This architecture makes it possible to manage backups of multiple Docker hosts from a single interface.
For our Nextcloud deployment, the Portabase agent will run on the Docker host where Nextcloud is installed. It will have access to the Nextcloud Docker volumes and will be responsible for backing them up to the storage destination configured in Portabase.
Tutorial architecture
The environment used in this tutorial consists of two main elements:
- Nextcloud, deployed with Docker and using persistent Docker volumes;
- Portabase, made up of the central dashboard and an agent connected to the Docker host.
The backup flow will be as follows:
Nextcloud Docker volumes → Portabase Agent → Backup Storage
The Portabase dashboard will be used to configure and monitor the backup process, while the agent runs the operations directly on the Docker host.
In the following sections, we will first deploy Nextcloud, then install Portabase, connect the agent to the Docker host, and finally configure our first backup and restore operation.
Installing Nextcloud
Create a dedicated directory:
$ mkdir nextcloudMove into that directory:
$ cd nextcloudCreate a docker-compose.yml file and paste the following code into it:
$ touch docker-compose.ymlservices:
postgres:
container_name: nextcloud-db
image: ${NEXTCLOUD_POSTGRES_IMAGE_TAG}
volumes:
- nextcloud-postgres:/var/lib/postgresql/data
environment:
POSTGRES_DB: ${NEXTCLOUD_DB_NAME}
POSTGRES_USER: ${NEXTCLOUD_DB_USER}
POSTGRES_PASSWORD: ${NEXTCLOUD_DB_PASSWORD}
networks:
- default
healthcheck:
test: ["CMD", "pg_isready", "-q", "-d", "${NEXTCLOUD_DB_NAME}", "-U", "${NEXTCLOUD_DB_USER}"]
interval: 10s
timeout: 5s
retries: 3
start_period: 60s
restart: unless-stopped
redis:
container_name: nextcloud-redis
image: ${NEXTCLOUD_REDIS_IMAGE_TAG}
command: ["redis-server", "--requirepass", "$NEXTCLOUD_REDIS_PASSWORD"]
volumes:
- redis-data:/data
networks:
- default
healthcheck:
test: ["CMD", "redis-cli", "ping"]
interval: 10s
timeout: 5s
retries: 3
start_period: 60s
restart: unless-stopped
nextcloud:
container_name: nextcloud-app
image: ${NEXTCLOUD_IMAGE_TAG}
volumes:
- nextcloud-data:${DATA_PATH}
ports:
- "7689:80"
environment:
TZ: ${NEXTCLOUD_TIMEZONE}
POSTGRES_HOST: nextcloud-db
DB_PORT: 5432
POSTGRES_DB: ${NEXTCLOUD_DB_NAME}
POSTGRES_USER: ${NEXTCLOUD_DB_USER}
POSTGRES_PASSWORD: ${NEXTCLOUD_DB_PASSWORD}
REDIS_HOST: nextcloud-redis
REDIS_HOST_PORT: 6379
REDIS_HOST_PASSWORD: ${NEXTCLOUD_REDIS_PASSWORD}
NEXTCLOUD_ADMIN_USER: ${NEXTCLOUD_ADMIN_USERNAME}
NEXTCLOUD_ADMIN_PASSWORD: ${NEXTCLOUD_ADMIN_PASSWORD}
NEXTCLOUD_TRUSTED_DOMAINS: ${NEXTCLOUD_HOSTNAME}
OVERWRITECLIURL: ${NEXTCLOUD_URL}
OVERWRITEHOST: ${NEXTCLOUD_HOSTNAME}
TRUSTED_PROXIES: 172.16.0.0/12 192.168.0.0/16 10.0.0.0/8 fc00::/7 fe80::/10 2001:db8::/32
PHP_UPLOAD_LIMIT: 8G
PHP_MEMORY_LIMIT: 8G
networks:
- default
healthcheck:
test: ["CMD", "curl", "-f", "http://localhost:80/"]
interval: 10s
timeout: 5s
retries: 3
start_period: 90s
restart: unless-stopped
depends_on:
postgres:
condition: service_healthy
redis:
condition: service_healthy
nextcloud-cron:
container_name: nextcloud-cron
image: ${NEXTCLOUD_IMAGE_TAG}
entrypoint: /cron.sh
volumes:
- nextcloud-data:${DATA_PATH}
networks:
- default
restart: unless-stopped
volumes:
nextcloud-data:
redis-data:
nextcloud-postgres:Create the .env file:
$ touch .envThen add the following variables to that file:
NEXTCLOUD_POSTGRES_IMAGE_TAG=postgres:16
NEXTCLOUD_REDIS_IMAGE_TAG=redis:7.2
NEXTCLOUD_IMAGE_TAG=nextcloud:34

NEXTCLOUD_REDIS_PASSWORD=<your-redis-password>

NEXTCLOUD_DB_NAME=nextclouddb
NEXTCLOUD_DB_USER=nextclouddbuser
NEXTCLOUD_DB_PASSWORD=<your-database-password>

NEXTCLOUD_ADMIN_USERNAME=admin
NEXTCLOUD_ADMIN_PASSWORD=<your-admin-password>

NEXTCLOUD_URL=http://localhost:7689
NEXTCLOUD_HOSTNAME=localhost:7689
NEXTCLOUD_TIMEZONE=Europe/Paris

DATA_PATH=/var/www/html
Once this step is complete, you can start your instance by running the following command:
docker compose up -d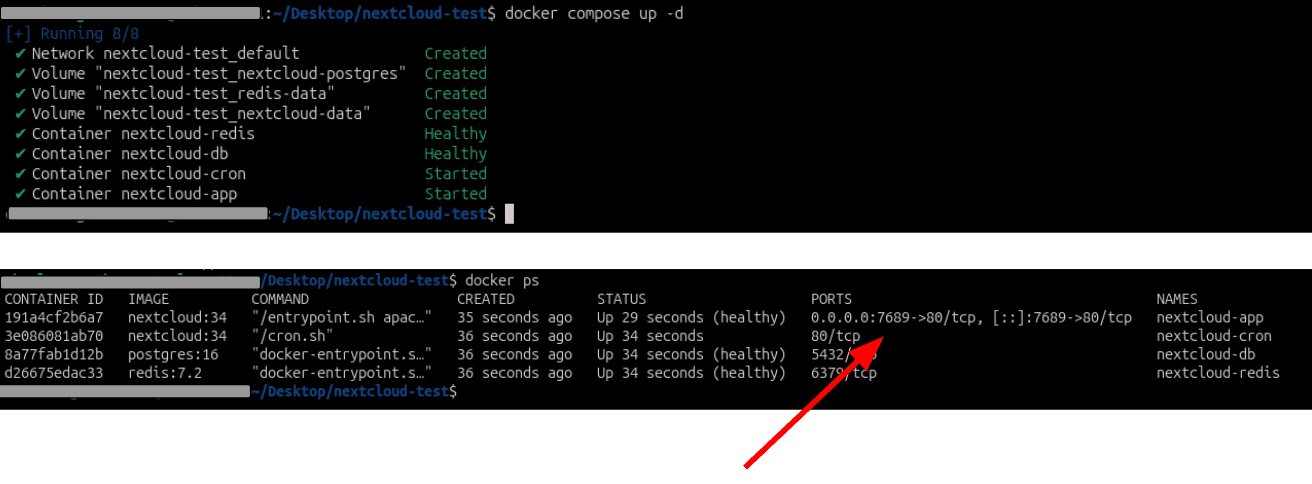
Then go to http://localhost:7689.
You should then see:
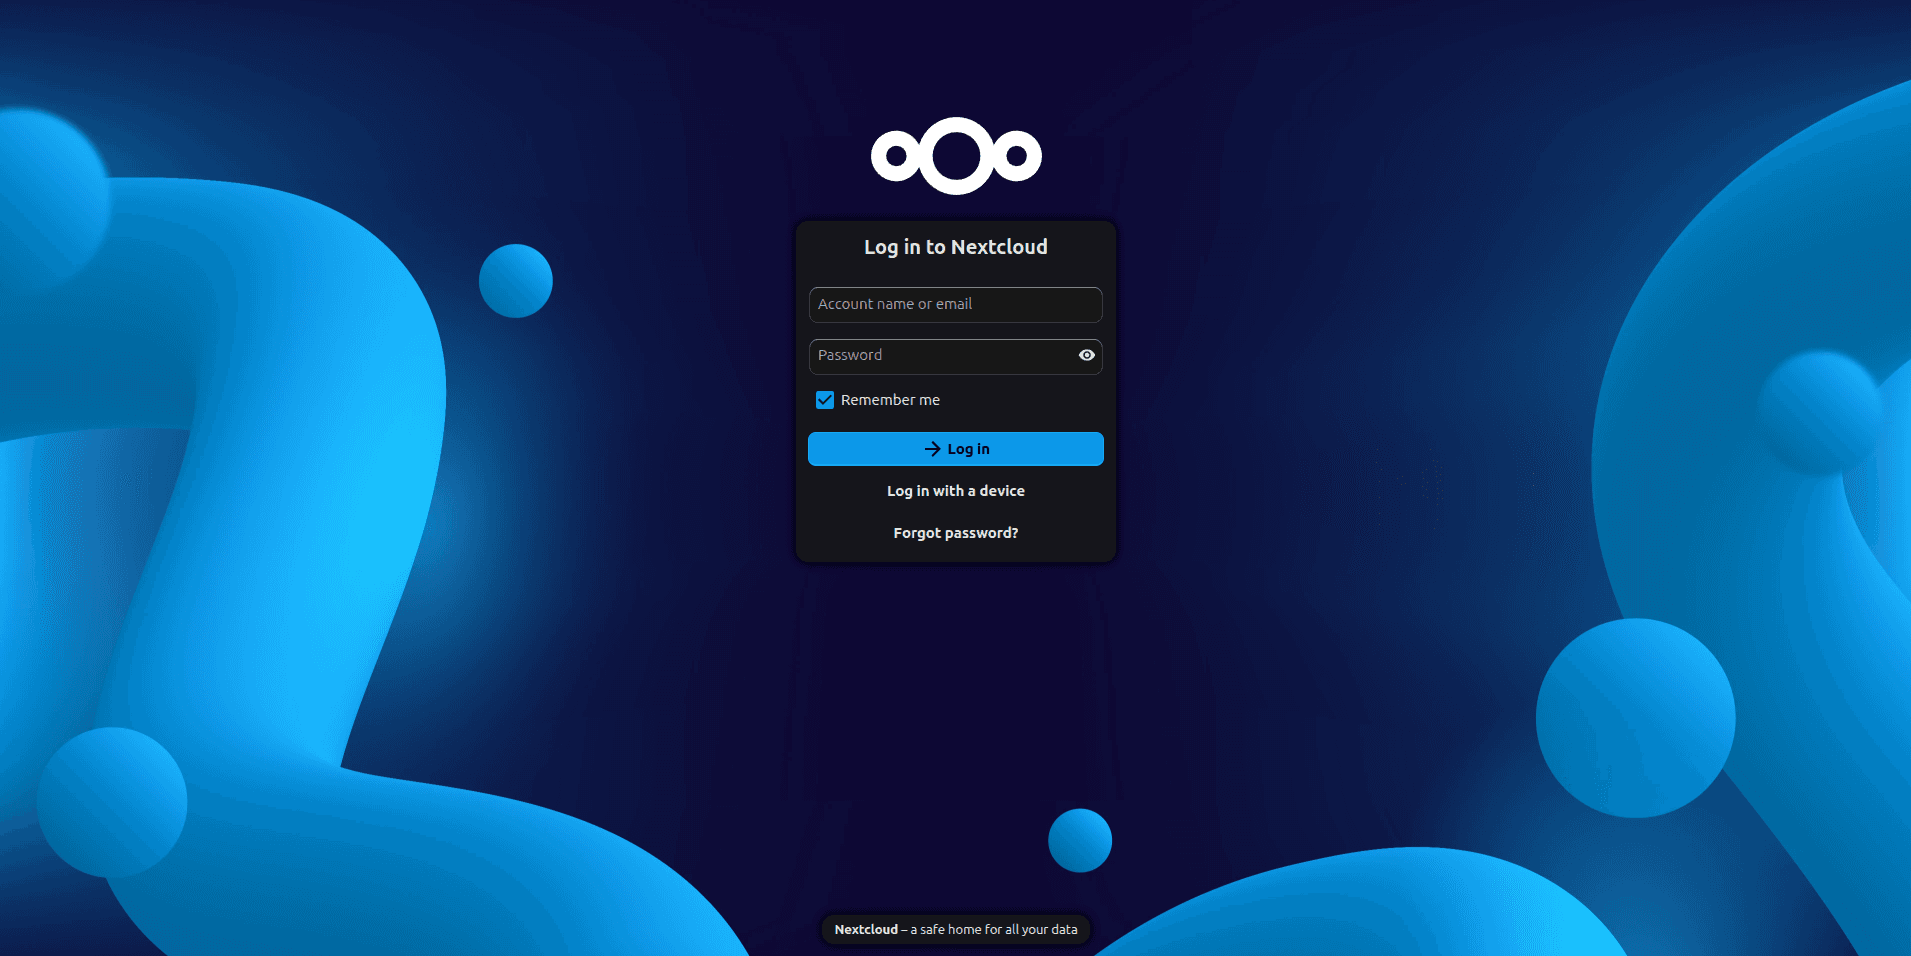
Log in using the Nextcloud username and password set in the .env file.
Everything is now up and running: your Nextcloud instance is ready to use.
You can move on to the next section.
Installing Portabase
Portabase dashboard
Create a directory:
$ mkdir portabaseMove into that directory:
$ cd portabaseCreate a docker-compose.yml file and paste the following code into it:
$ touch docker-compose.ymlname: portabase
services:
portabase:
container_name: portabase-app
image: portabase/portabase:latest
restart: unless-stopped
env_file:
- .env
ports:
- "${HOST_PORT}:80"
environment:
- TZ=${TZ}
- LOG_LEVEL=${LOG_LEVEL}
- PROJECT_SECRET=${PROJECT_SECRET}
- PROJECT_URL=${PROJECT_URL}
volumes:
- portabase-data:/data
healthcheck:
test: ["CMD-SHELL", "curl -f http://localhost/api/health"]
interval: 30s
timeout: 5s
retries: 3
start_period: 60s
volumes:
portabase-data:If you want to use an external PostgreSQL database to store Portabase's internal metadata, you can refer to the following documentation: /docs/dashboard/configuration/environment
Create the .env file:
$ touch .envThen add the following variables to that file:
HOST_PORT="8887"
PROJECT_SECRET="<your-secret>" # openssl rand -hex 32
PROJECT_URL="http://localhost:8887"
TZ="Europe/Paris"
LOG_LEVEL="info"
Once this step is complete, you can start your instance by running the following command:
docker compose up -dThen go to http://localhost:8887.
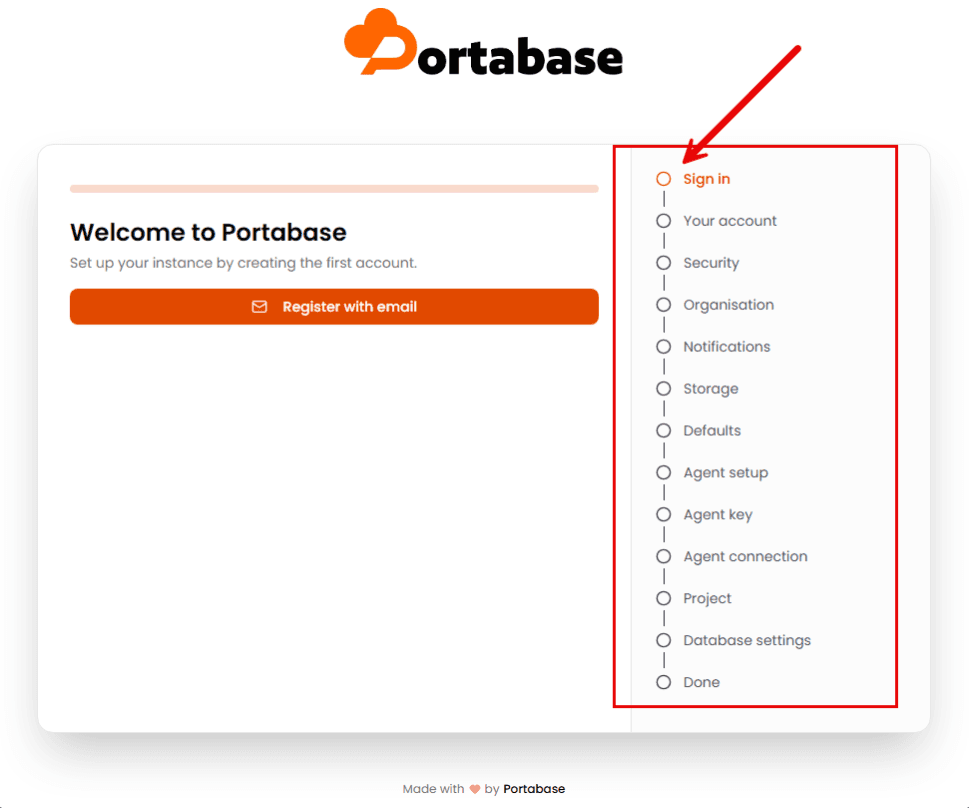
Start of the Portabase configuration wizard to install and customize the solution.
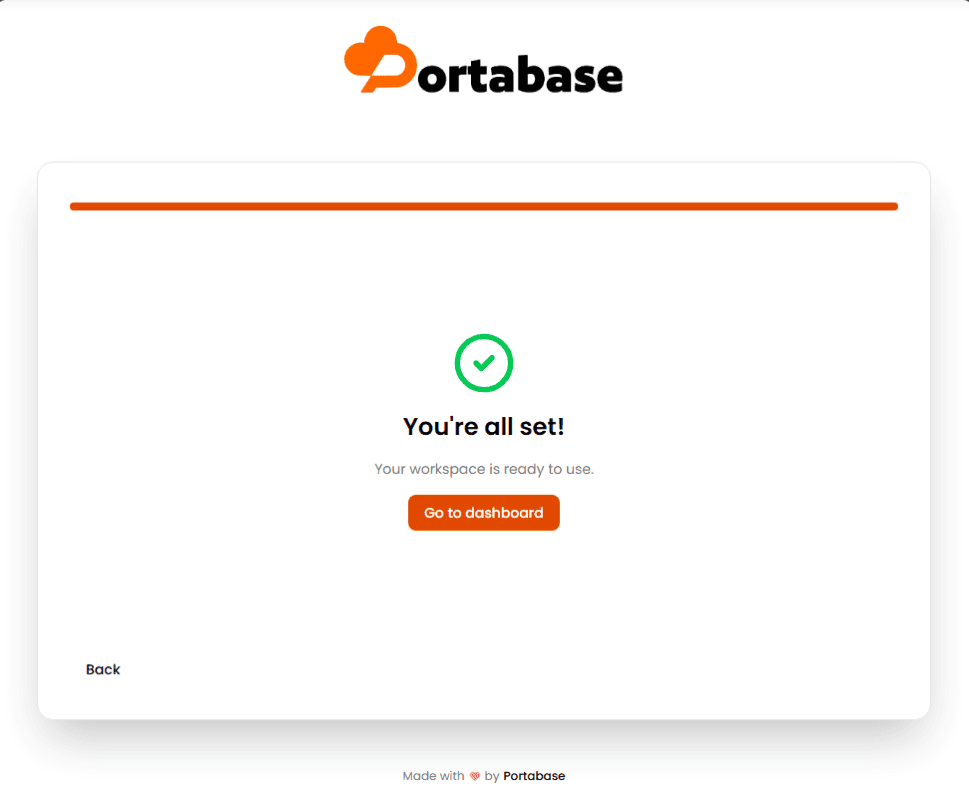
Completing the Portabase configuration wizard during installation.
Adding "agents" to Portabase
The "agents" are essentially the component installed on the Docker host. They run the core operations related to backing up your Docker volumes.
The configuration requires a few steps on both sides: on your Portabase server and on the Docker host whose volumes you want to back up.
On the Portabase server side, go to the Agents menu, then click Add an agent.
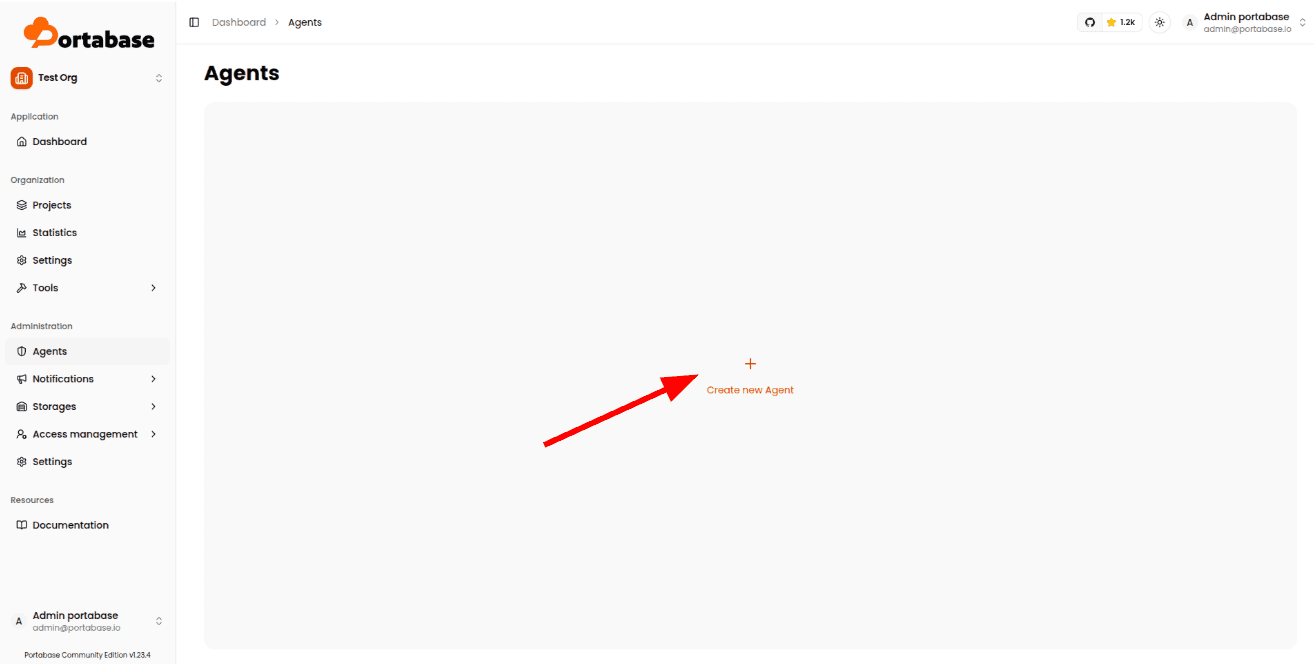
This will open the Create a new agent dialog.
Give the agent a name. You can also add a description.
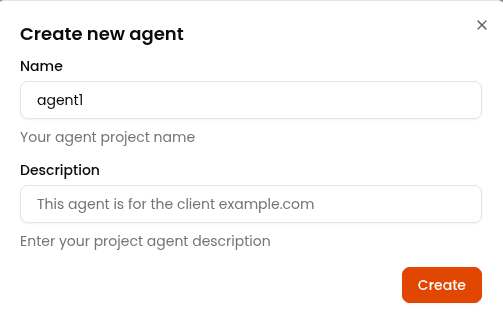
Name the agent and optionally add a description.
The agent is now added on the Portabase side.
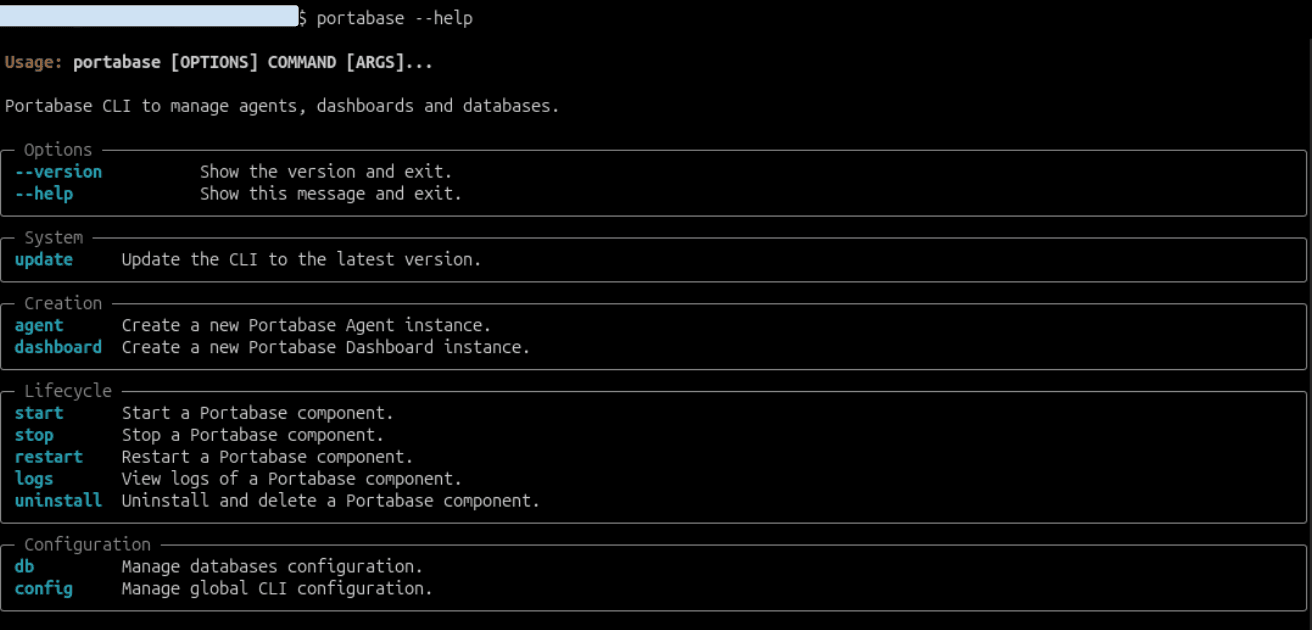
Configuring the Portabase CLI
Now that the agent is configured on the Portabase side, we need to configure the "client" part - that is, the Docker host.
To do this, we will install the Portabase CLI. Its installation is simple using the command below, following the Portabase documentation:
curl -sL https://portabase.io/install | bash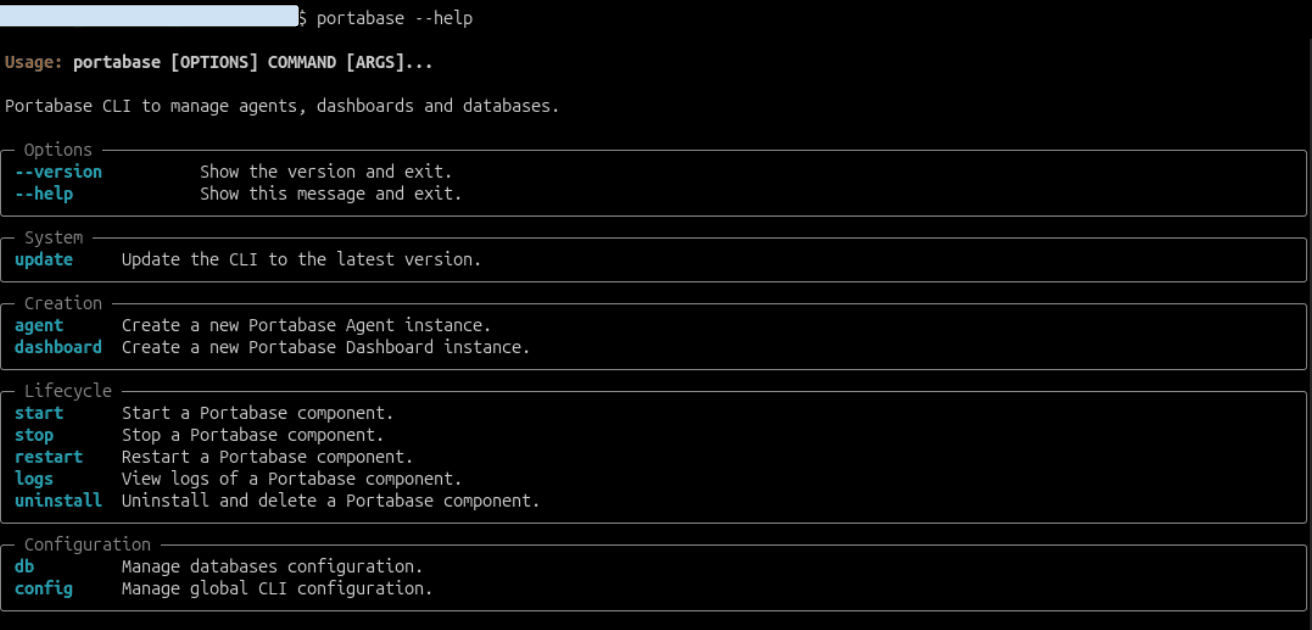
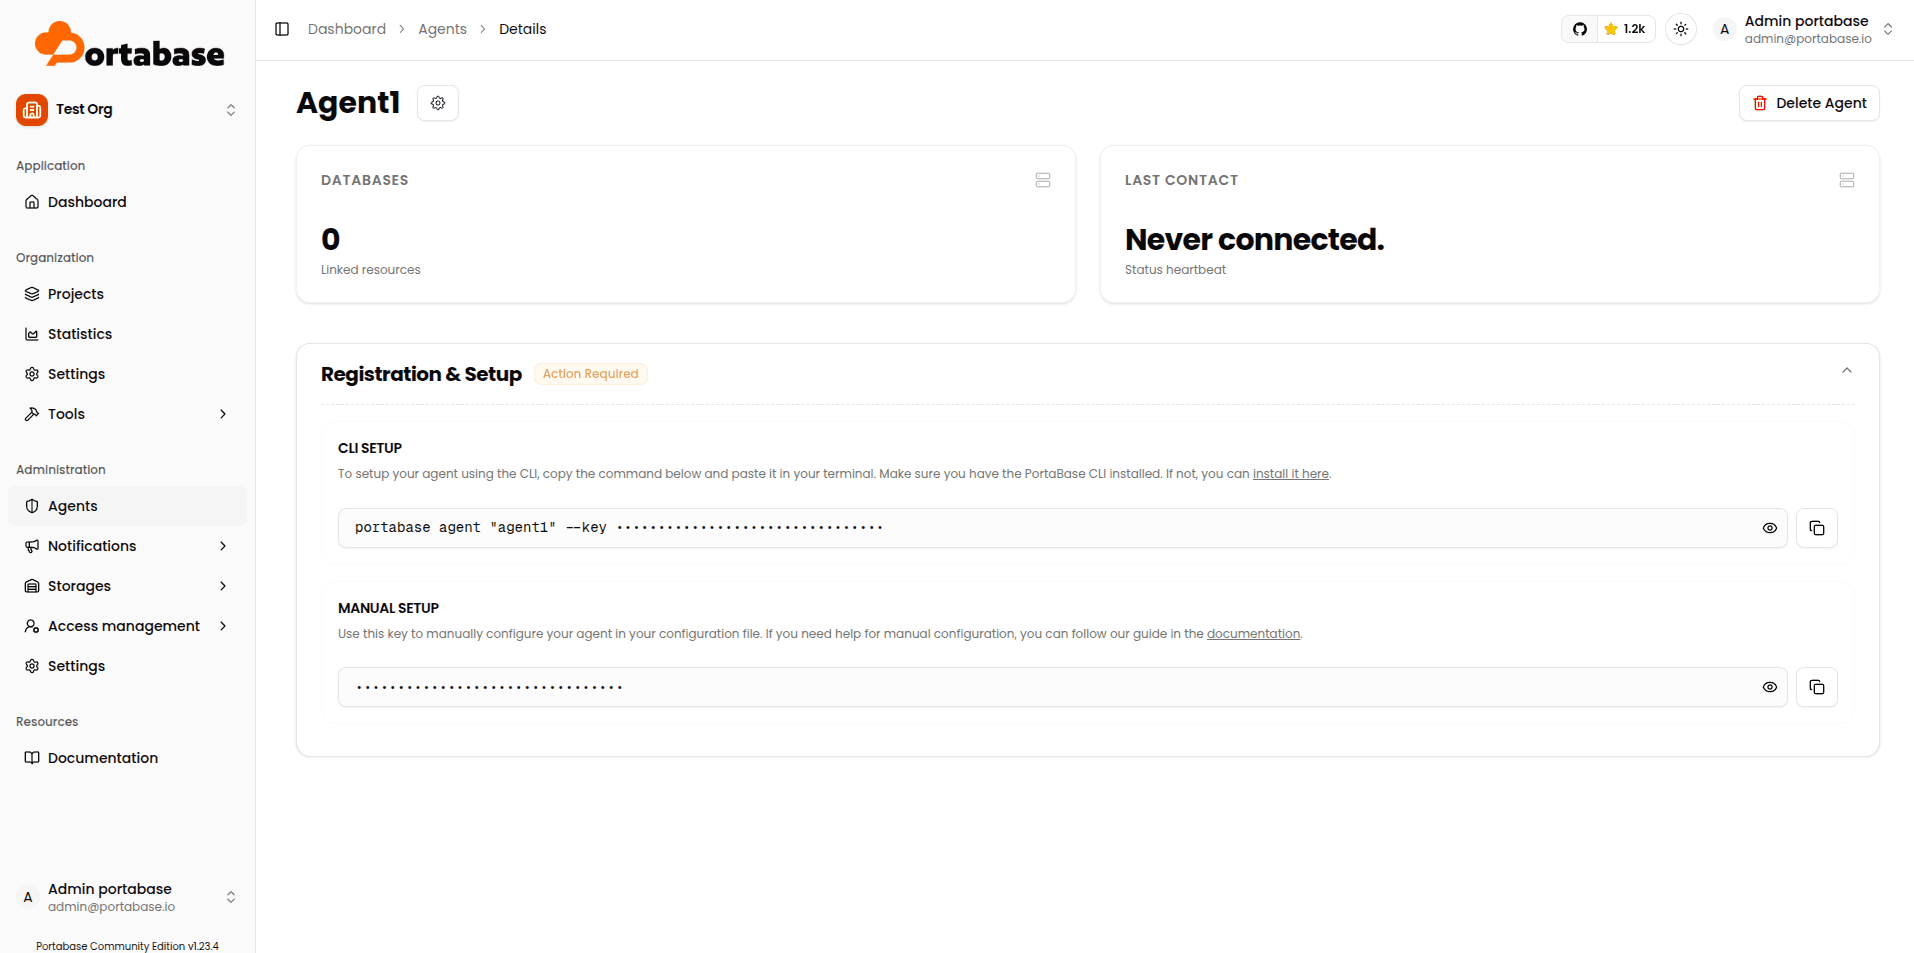
The agent screen displays the Registration and Setup sections, where you can copy the CLI command containing the authentication token that lets the remote agent connect to Portabase.
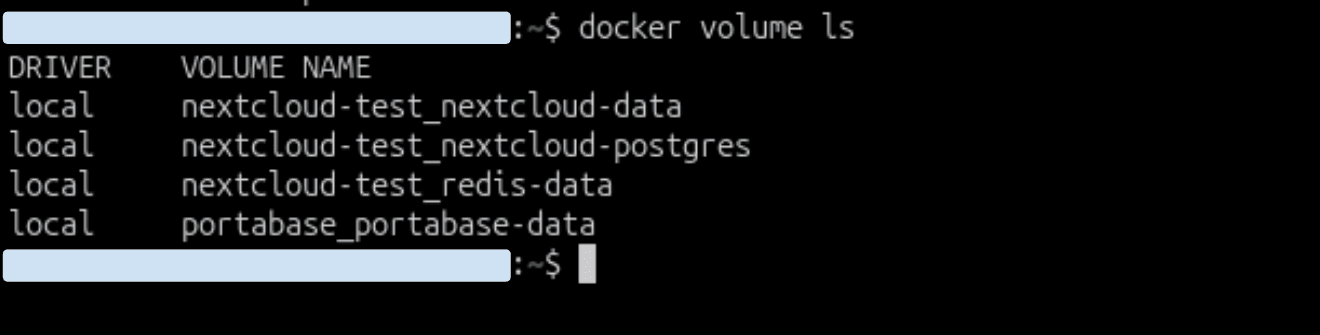
Before continuing, check the Nextcloud volumes as well as the container names:

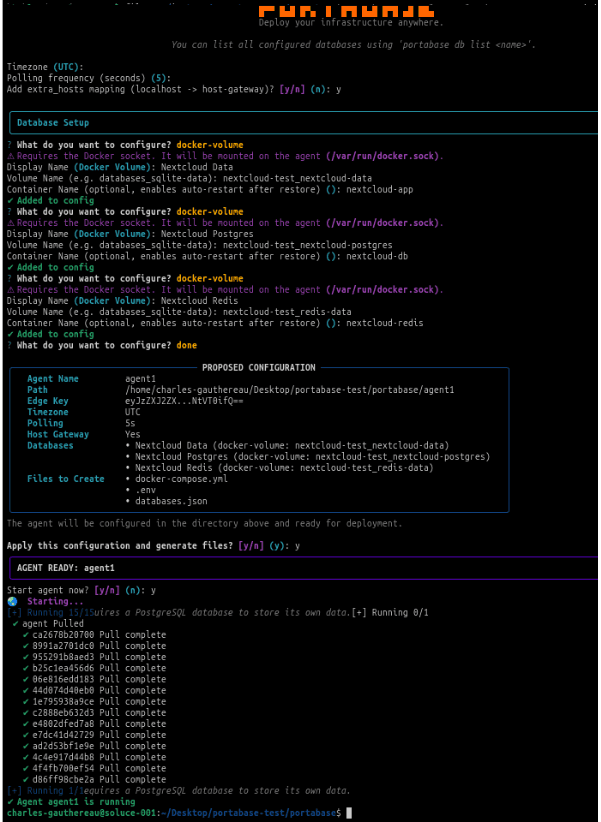
Then go back to the Portabase dashboard.
As you can see below, the agent is now connected and the Managed Databases section shows the Docker volume we configured to be protected.
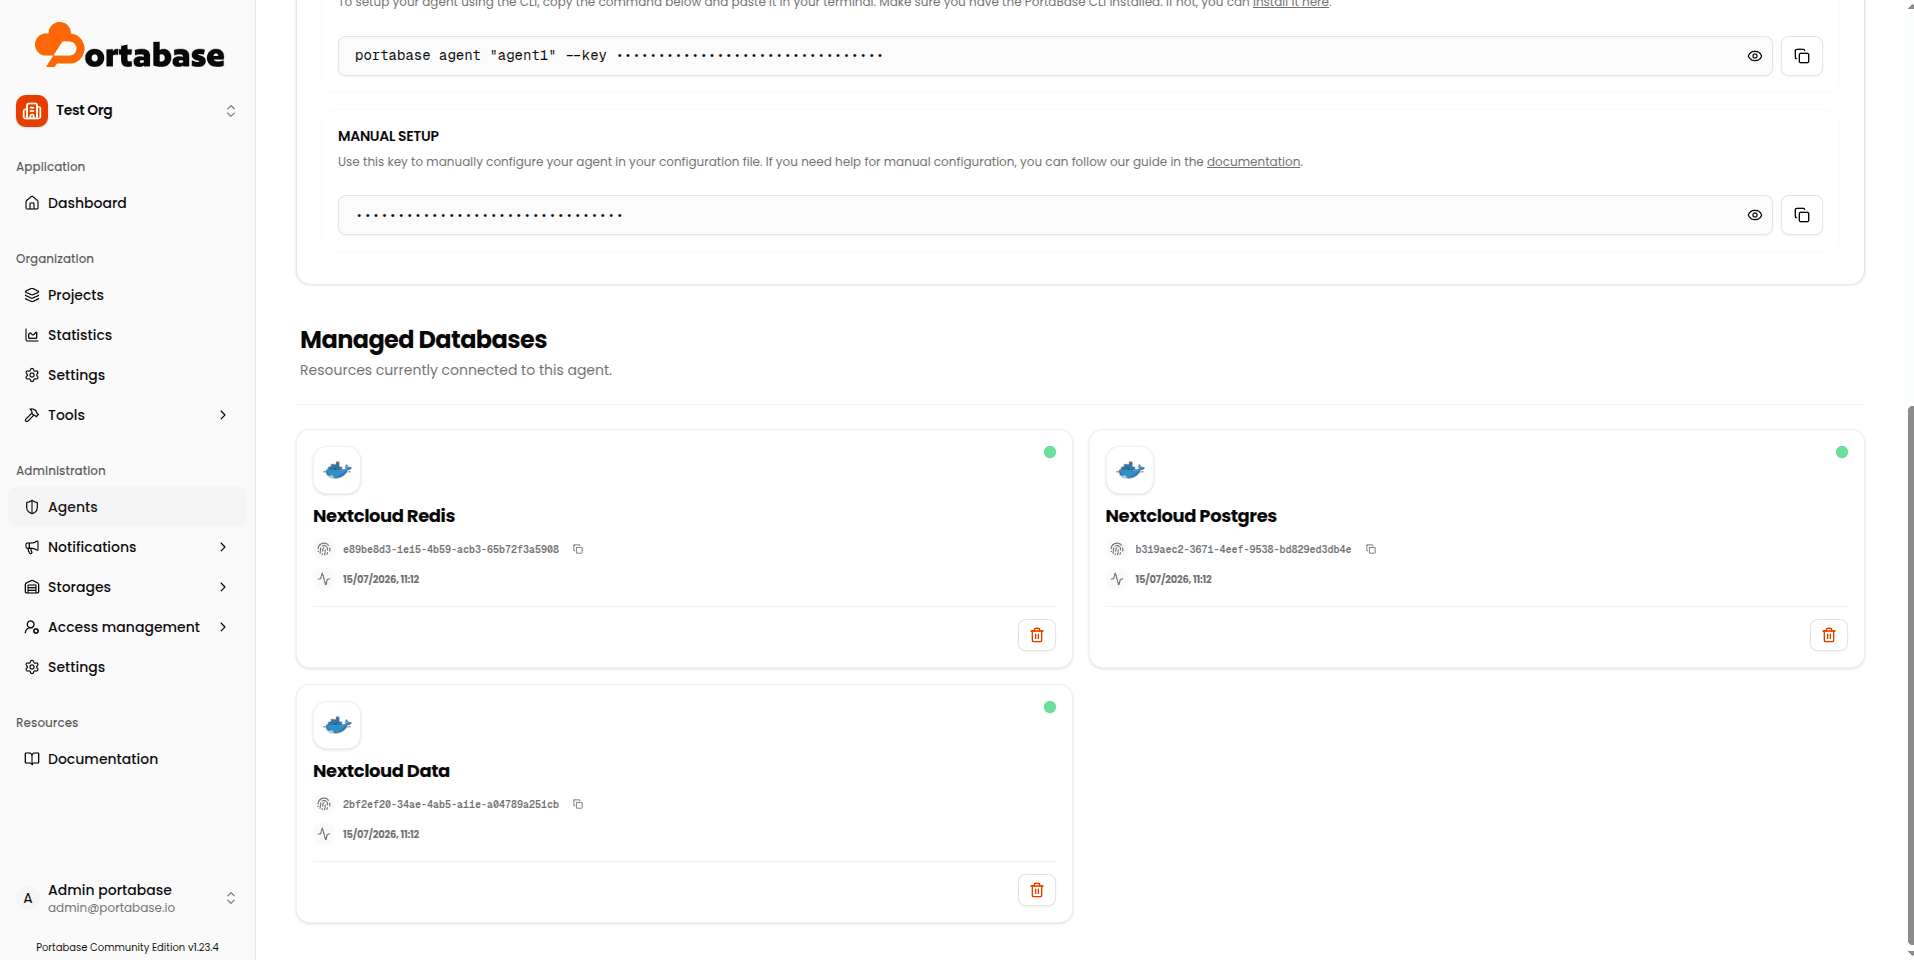
Agent added to Portabase and communicating correctly with the registered Docker volume.
Linking the agent to an organization
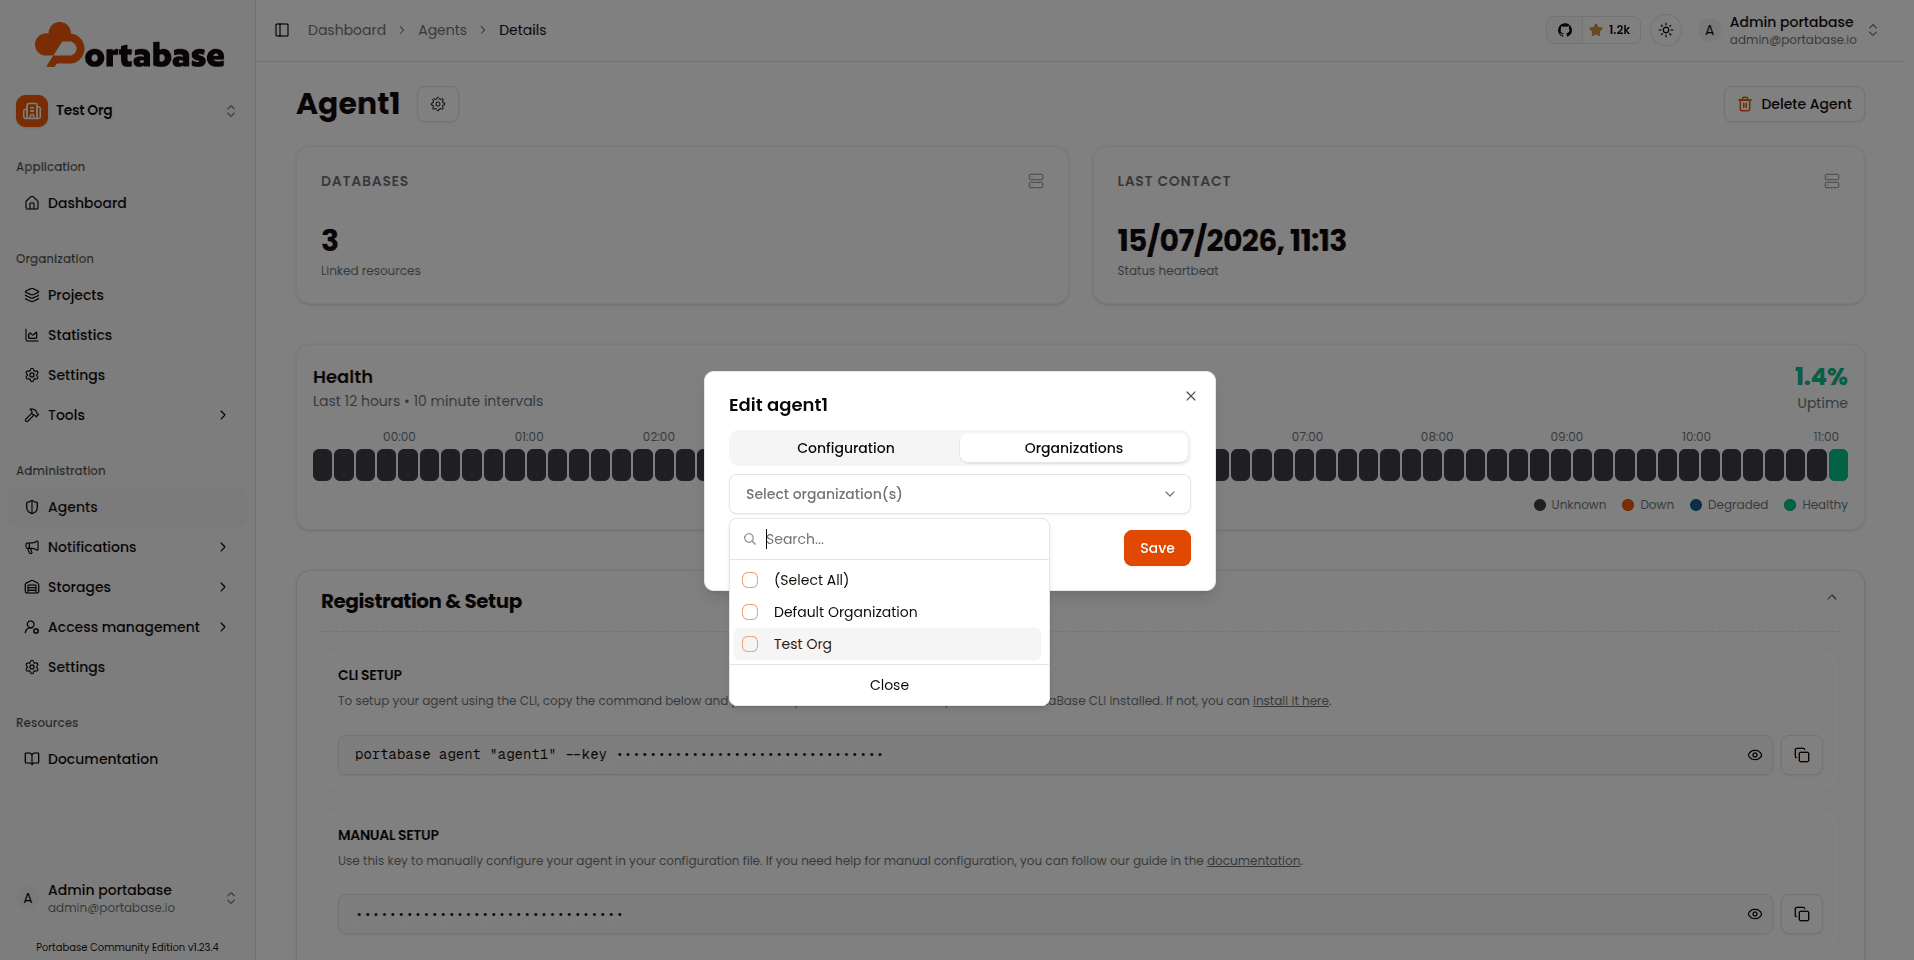
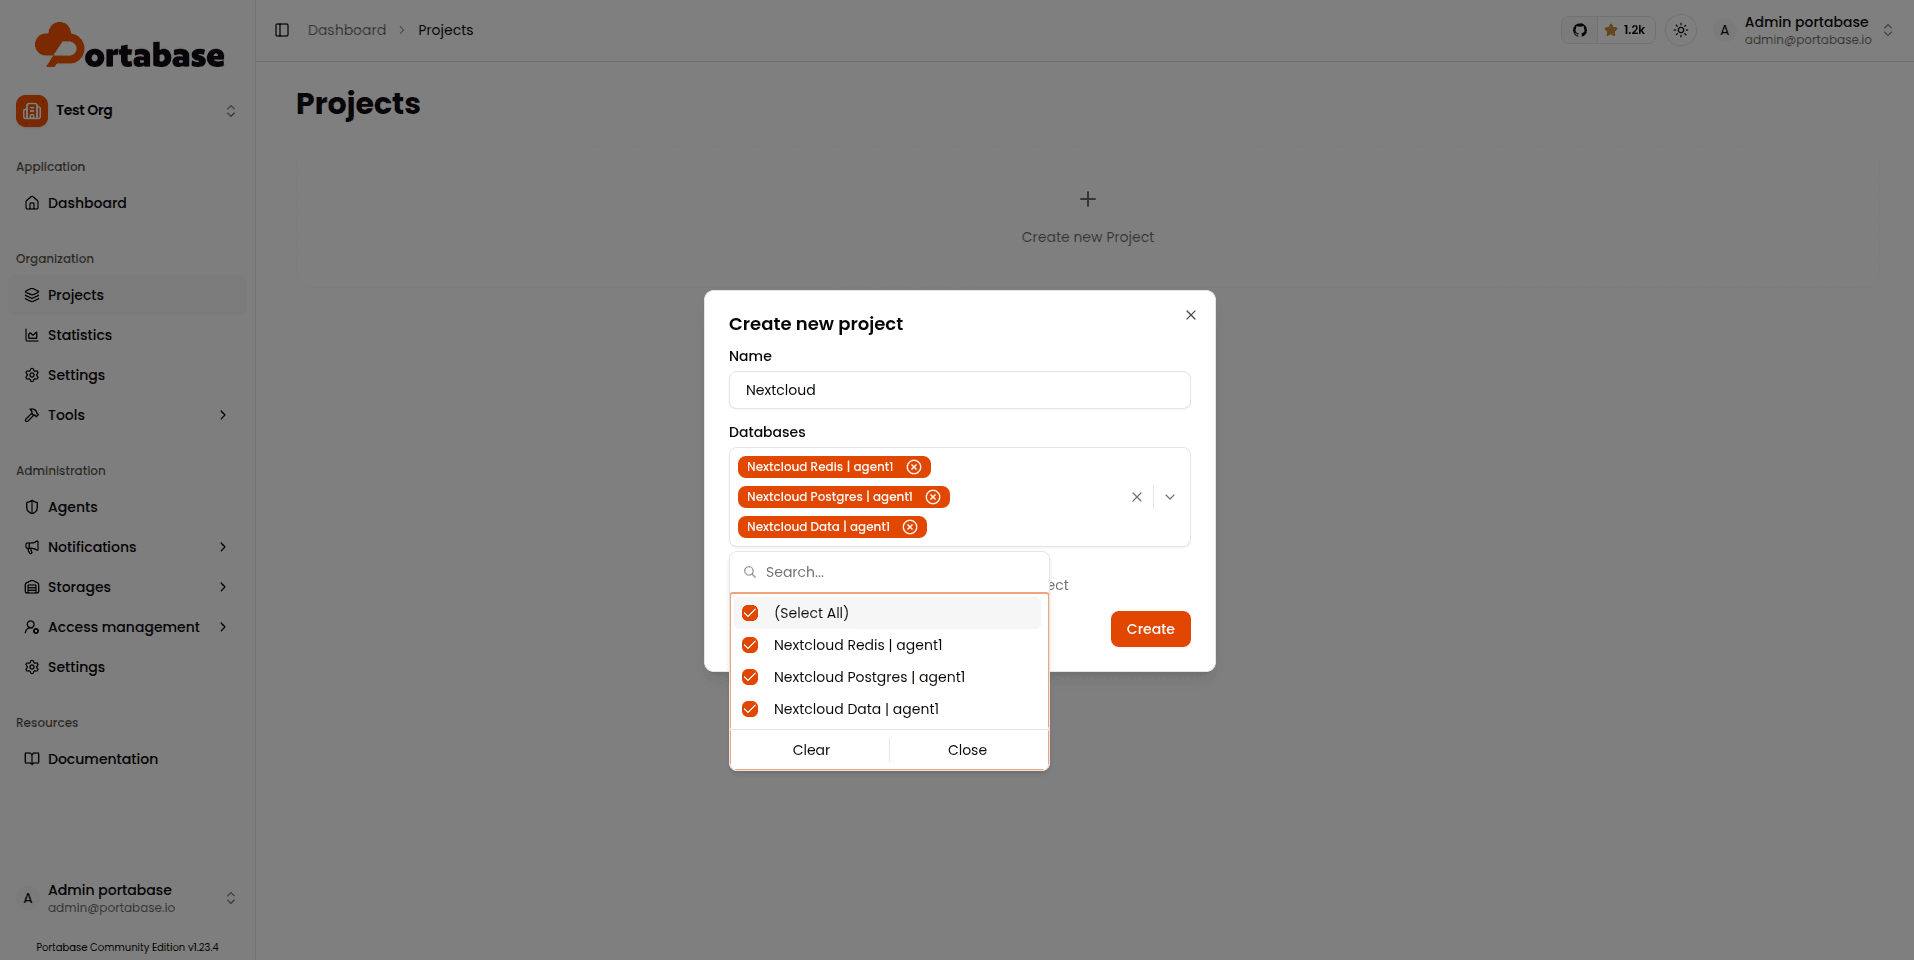
Create a new project and select the Docker volume to protect
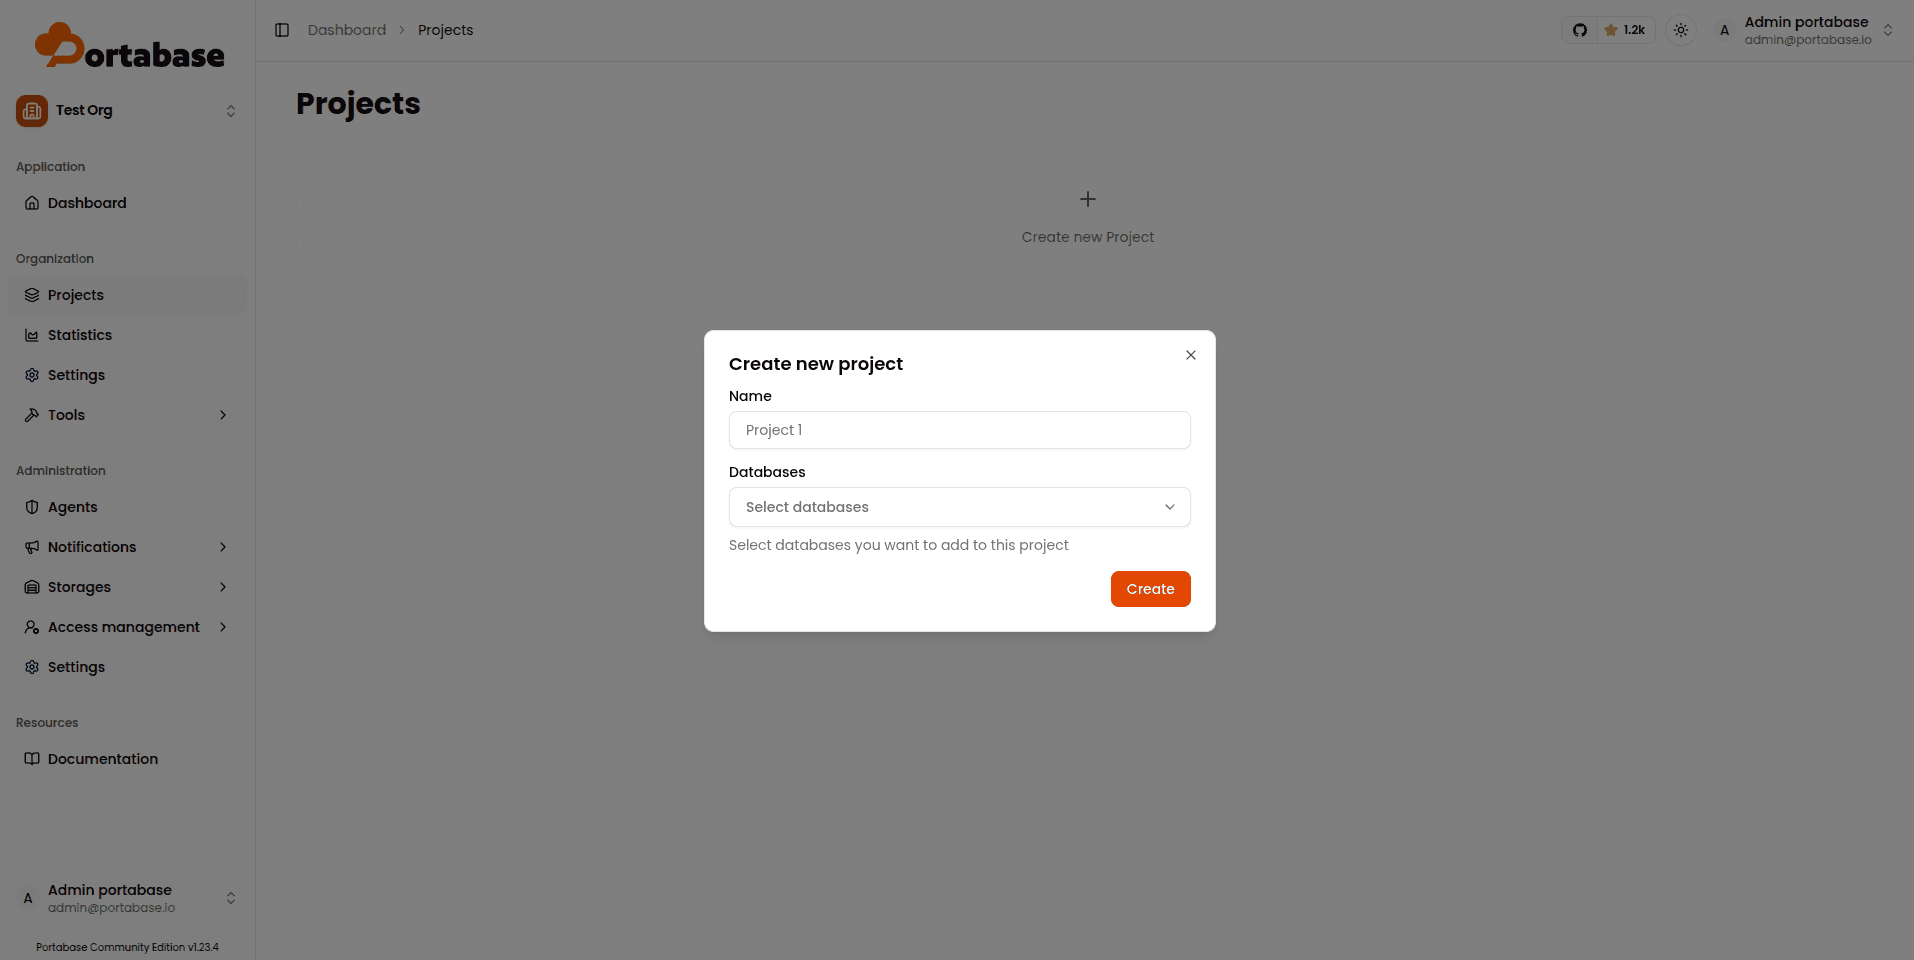
Below, I create a new project. Creating a project is required, because this is where backup operations can be configured and run.
Here, I give the project a name and select the Docker volume to protect.
Run a backup with Portabase
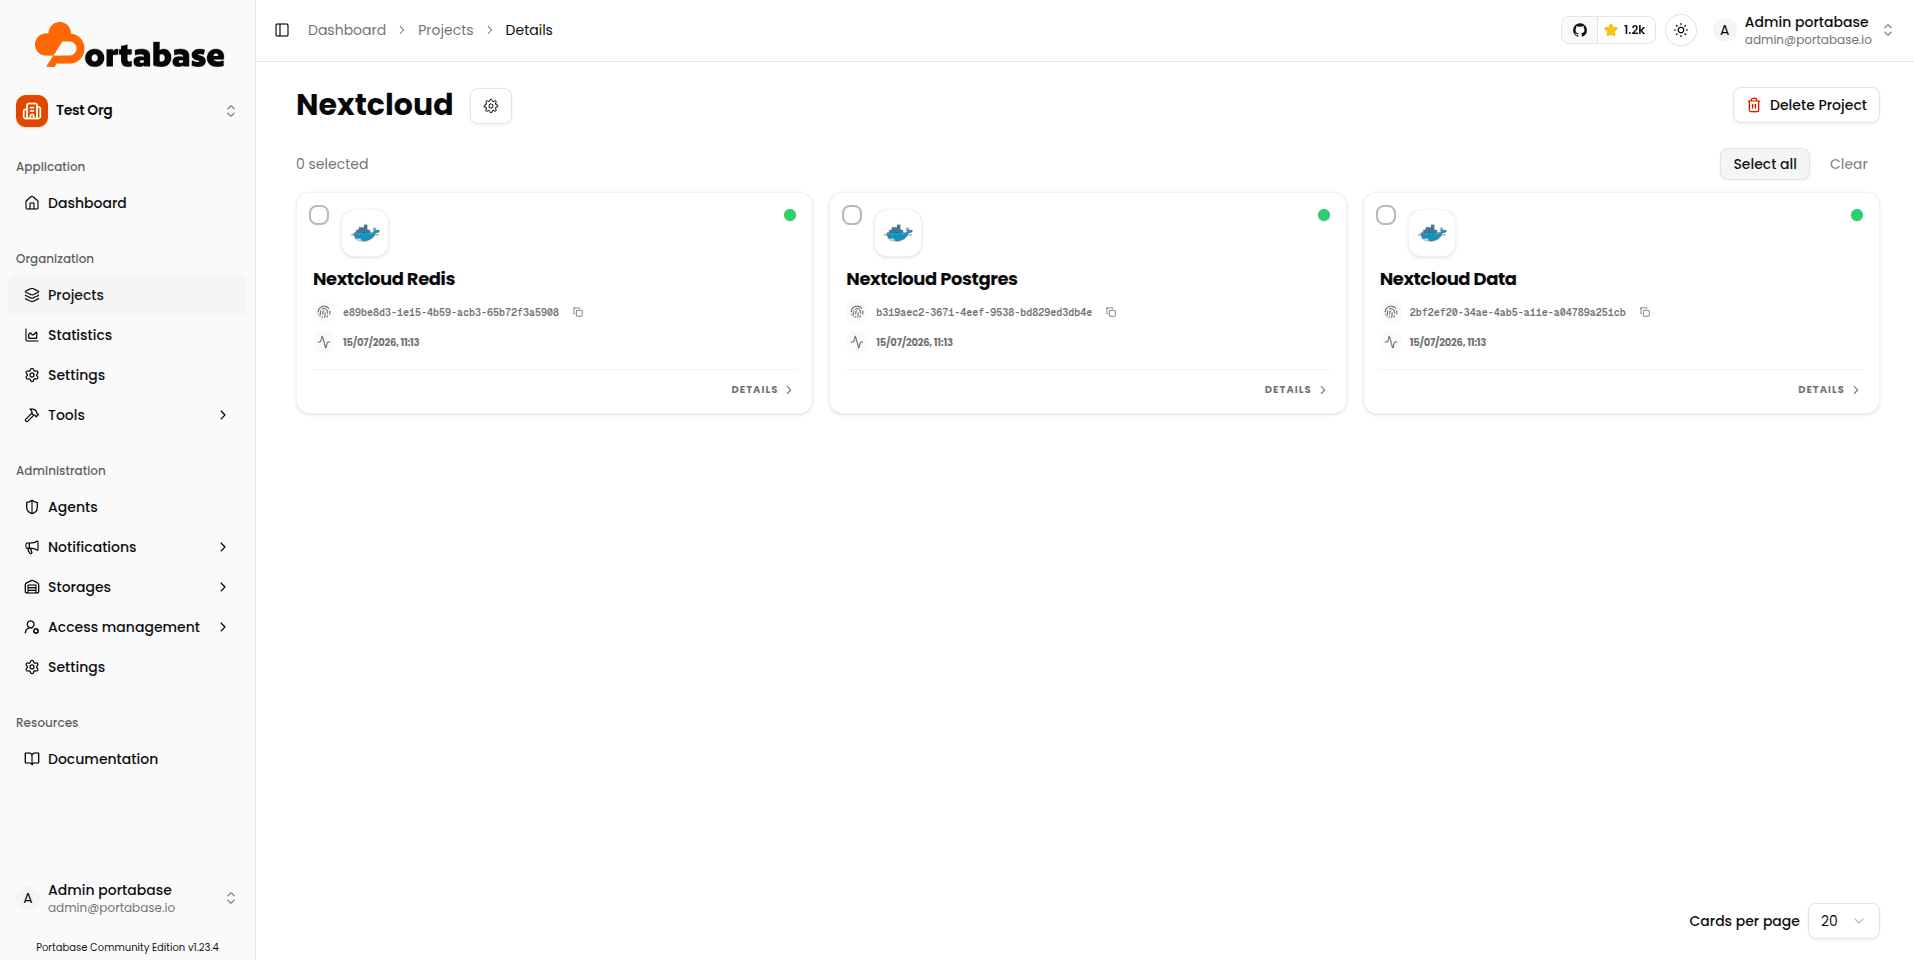
Open the Nextcloud project in Portabase.
You should now see the Docker volumes that were added to the project.
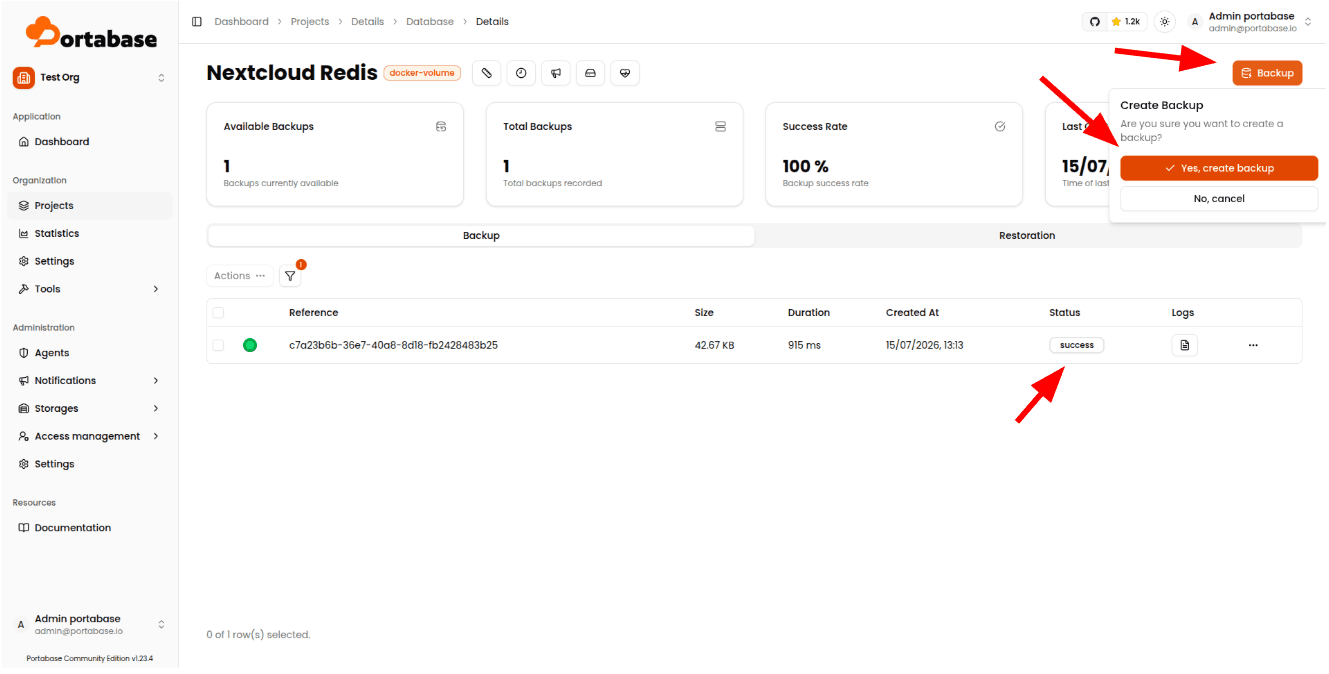
Your Nextcloud Docker volumes are now protected with Portabase.
Going further
A manual backup is a first step, but a real backup strategy must be automated.
From the Portabase dashboard, you can configure:
- scheduled backup policies to run backups automatically;
- retention policies to define how long backups are kept;
- storage providers to keep backups off the Docker host;
- restore operations to recover a volume when needed.
For production environments, it is strongly recommended to store your backups on infrastructure separate from the Nextcloud server. That way, a failure affecting the original host cannot also destroy your backups.
A reliable backup strategy must also include regular restore tests. A backup is only truly useful if it can be restored when an incident occurs.
Thanks to Portabase, which centralizes the backup process, and an agent running directly on the Docker host, you can manage and monitor the protection of your Nextcloud deployment from a single interface.
Useful links
- Website: https://portabase.io
- Documentation: https://portabase.io/docs
- GitHub: https://github.com/portabase/portabase